



Building a WordPress website locally on your computer using development tools like LocalWP, XAMPP, or Laragon is the gold standard for developers. It allows you to experiment freely, test theme designs, and customize plugins without risking live website downtime or racking up hosting expenses.
However, the real test begins when development is complete: How do you migrate the website from localhost to a live hosting server smoothly? Without the right procedure, developers often encounter broken internal links, missing images, white screens, and corrupted serialized database arrays. In this detailed guide, we provide the step-by-step blueprint to migrate WordPress from local to live without losing search engine rankings or dropping uptime in 2026.
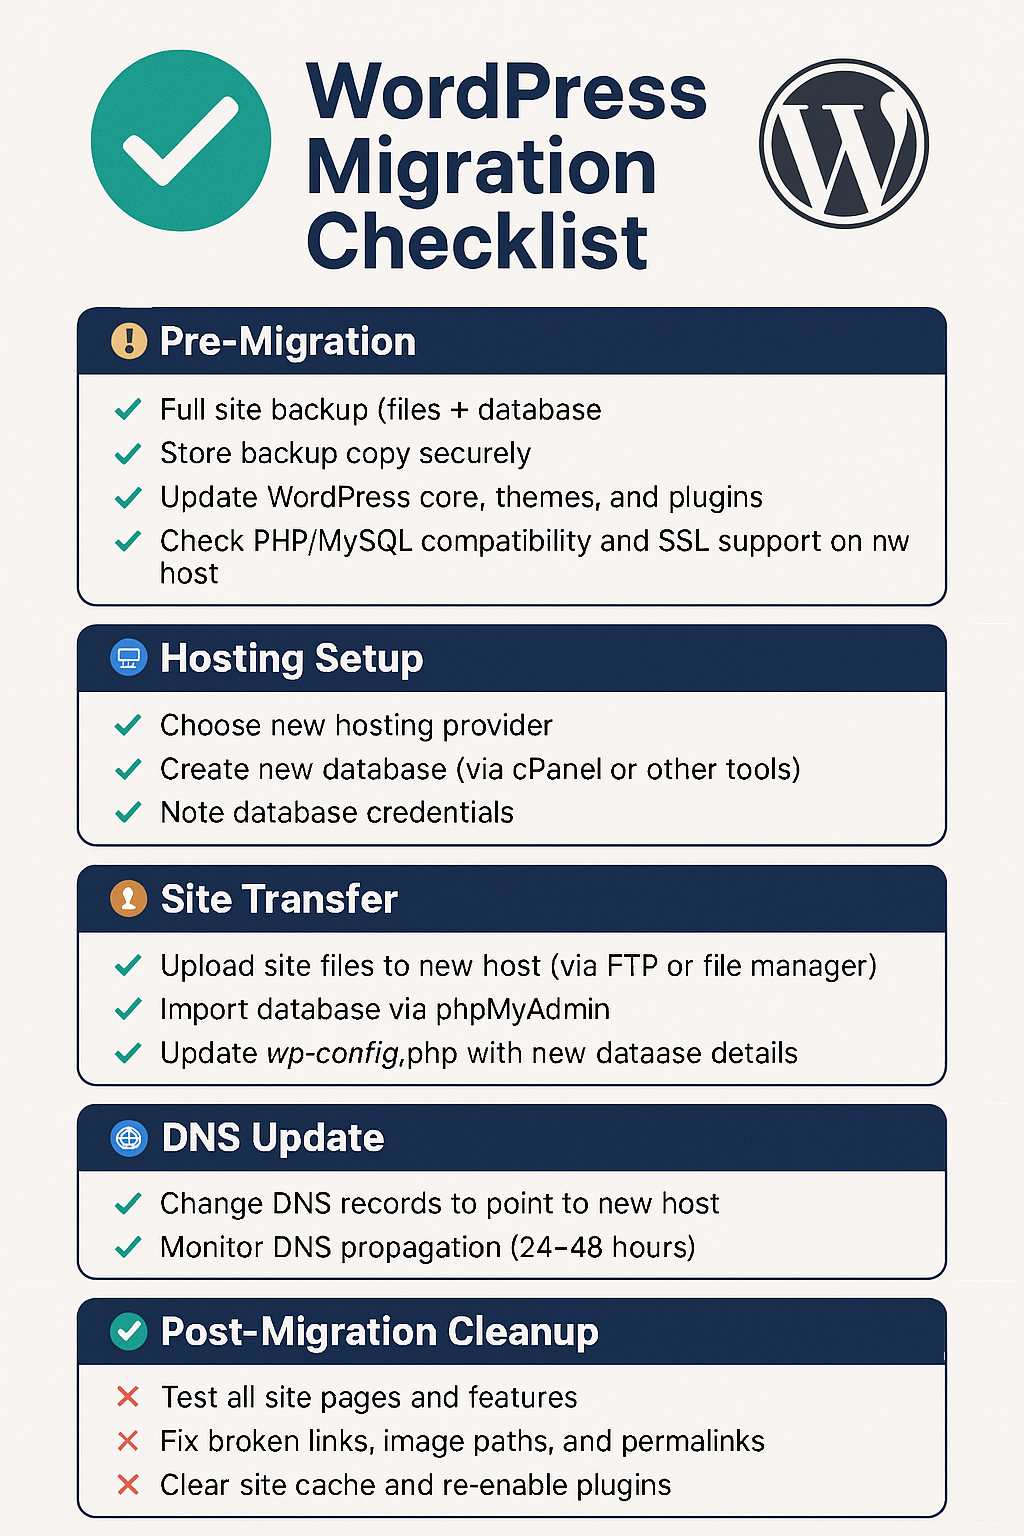
Pre-Migration Checklist: What You Need Ready
Before initiating the migration, ensure you have the following prerequisites in order:
- An active live web hosting plan and registered domain name pointing to your hosting nameservers.
- Access to your live server control panel (cPanel, hPanel, RunCloud, or Plesk).
- FTP/SFTP credentials or access to cPanel File Manager.
- A clean snapshot backup of your local site database and filesystem.
Method 1: The Automated Migration Method (Beginner Friendly)
If you prefer a seamless, plugin-driven migration that automatically handles database serializations and image URLs, use the All-in-One WP Migration or Duplicator plugin:
- Install on Localhost: Install the All-in-One WP Migration plugin on your local WordPress installation.
- Export File: Go to All-in-One WP Migration > Export. Select Export To > File. The plugin bundles your database, media files, themes, and plugins into a single
.wpresspackage. - Install Fresh WordPress on Live Server: Use your hosting 1-click installer (Softaculous or hPanel) to install a basic WordPress instance on your live domain.
- Import File: Install the same plugin on the live site, navigate to Import, and upload your
.wpressfile. The plugin will overwrite the live database, replace local URLs (e.g.,http://mysite.local) with your live domain (e.g.,https://wpustaad.com), and preserve theme settings. - Save Permalinks: Once the import completes, log in and visit Settings > Permalinks. Click Save Changes twice to flush your URL rewrite rules.
Method 2: The Professional Manual Migration Method
For large websites exceeding plugin upload size limits, manual migration is faster, cleaner, and completely unrestricted:
Step 1: Export the Local Database
Open local phpMyAdmin (or LocalWP database manager), select your WordPress database, click the Export tab, choose the Quick method with SQL format, and download the .sql file to your desktop.
Step 2: Upload Files via SFTP or cPanel
Zip your local WordPress files (or just the wp-content folder if you installed fresh core files on the server). Upload the zip file into the live server’s public_html directory and extract it.
Step 3: Create MySQL Database on Live Server
In your live cPanel, navigate to MySQL Databases:
- Create a new database (e.g.,
user_livewp). - Create a new MySQL user with a strong password.
- Assign the user to the database with ALL PRIVILEGES.
- Open live phpMyAdmin, select the newly created database, and import your downloaded
.sqlfile.
Step 4: Update wp-config.php with Live Credentials
Edit the wp-config.php file on your live server. Update DB_NAME, DB_USER, and DB_PASSWORD to match the live credentials you just generated.
Critical Step: Safely Search & Replace Serialized URLs
WordPress stores complex widget and theme settings inside serialized PHP arrays. If you run a simple search-and-replace using raw SQL queries, the character length counts will mismatch, breaking your theme widgets and page builder layouts.
To safely replace all instances of your local URL with your live HTTPS domain, use WP-CLI via SSH:
wp search-replace 'http://mysite.local' 'https://yourdomain.com' --all-tablesIf you do not have SSH terminal access, log in to WordPress and install the Better Search Replace plugin. Select all tables, enter your local URL in “Search for” and your live domain in “Replace with”, and execute the replacement safely.
Post-Migration SEO & Health Checklist
Before launching your site to the public, verify these four essential SEO settings:
- Uncheck Search Engine Discouragement: Local sites often have search engines discouraged. Navigate to Settings > Reading and verify that “Discourage search engines from indexing this site” is UNCHECKED.
- Enforce HTTPS SSL Redirection: Ensure all HTTP traffic automatically redirects to HTTPS.
- Check XML Sitemaps: Verify that
https://yourdomain.com/post-sitemap.xmlreflects all your published pages with clean live URLs. - Configure Database Cleanup: Follow our WordPress Database Optimization Guide to clear transient data created during the migration.
For more hosting optimization tips, review our WordPress Technical SEO Checklist and visit our Curated Developer Resources.
